Control panel
The left control panel is divided into individual groups. Each has its own purpose:
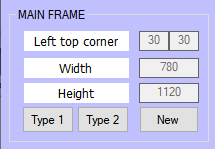
In the MAIN FRAME group, you select the appropriate type to apply to all the albums.
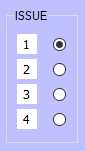
In the ISSUES group, you specify the number of stamp issues you want to place on one page.
Group TABLE will adapt to this number - see. Frame creation .
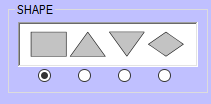
In the OUTLINE group, you select the outline of the stamp frame according to its shape.
Most stamps have a rectangular or square shape, but there are also triangles or diamond shapes. Other shapes rarely occur. However, you can place them in rectangular or square frames. This outline is the best fit when you use sandwiches.

In the FRAME group, there are several combinations to choose from to get the desired stamp frame effect.
Unlike commercial albums, this program offers you both a simple frame and different shades of color from light gray to black.
Serrated stamps stand out on a darker background. Partial frames save ink in your printer.
You should apply the selected variation on all pages so that the album has a consistent character.
A simple box is enough if you use black-backed tiles.
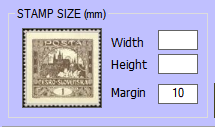
In the STAMP DIMENSIONS group, fill in the width and height of the mm stamps you measure in advance.
Eg. The Hradčany stamp will be Width 30 , Height 27 . Values must be integers.
Margin is preselected. Its value is 10 pixels (= approximately 2.5 mm).
This is the dimension by which the stamp frame on each side is larger than the actual stamp.
If you use the rails, which are available in different standard sizes, you can increase the Margins value a little.