Adding pictures
The stamp album is primarily used to create boxes to store your collection. Inserting images into each frame would be very laborious and images would be hidden when the stamps are inserted.
Still, this program will allow you to add images if you have them stored on your computer. You can only insert an image in the first frame of each row.
To insert an image:
If you have already finished the album page with its frames, click the button ![]() found on the left panel below the FRAME group.
found on the left panel below the FRAME group.
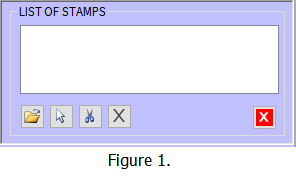
A new panel LIST OF STAMPS (Figure 1) will open.
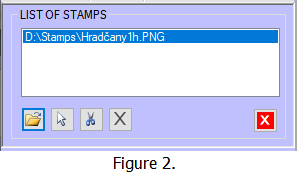
In this new panel, click the button  Find pictures (Figure 2).
This will open a new dialog where you can find your saved images. You can select multiple images at once. Images can be .png, .gif, or .jpg. When you have finished making your selections, click OK to close the dialog.
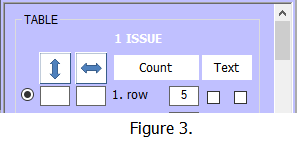
In the group Table select the row into which you want to insert the image (Figure 3).
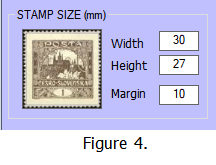
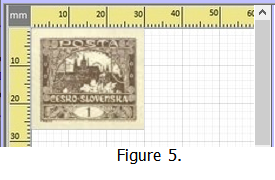
In the group STAMP SIZE make sure the stamp is the correct size. Change the values if required (Figure 4) and (Figure 5).
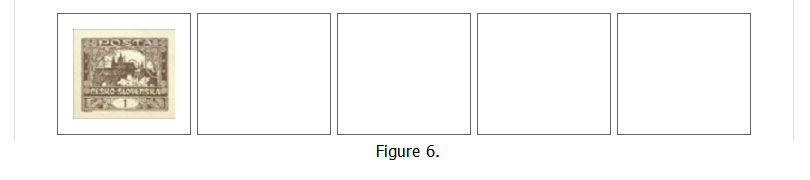
In the LIST OF STAMPS panel, click the  Choose picture | Next button to select the image you want to use and it will appear (Figure 6).
This image will be smaller than the actual size of the stamp.
Using button  Remove picture you will cancel your selection.
Using button ![]() Clear list you will clear the list.
Clear list you will clear the list.
Using button  Close list you will hide this panel.
Similarly, you can add images in other rows.
Alternative:
Click on the image in the group STAMP SIZE and move it to the first frame in any row.